
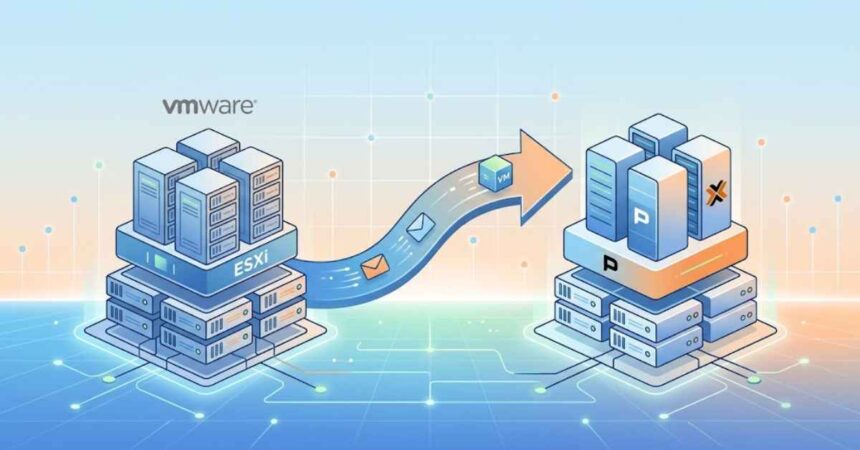
Most failed hypervisor migrations don’t fail during the migration — they fail because something was missed before it. Converting a VM from VMware ESXi to Proxmox VE is well-tooled and reliable today; the part that bites teams is the preparation. This checklist covers what to lock down before you touch production, so the cutover itself is boring in the best possible way.
Why the focus on preparation? Because the conversion step is largely automated. What isn’t automated is the knowledge about your environment — the dependencies, the fixed IPs, the fragile legacy app that only one person understands. That knowledge has to be captured and turned into a plan, or it becomes an outage.
1. Build a complete inventory
You cannot migrate what you haven’t documented. For every VM, record: hostname, OS, vCPU/RAM, disk sizes and datastore, IP/VLAN, MAC (if static bindings exist), snapshots, and open ports. Just as important — map dependencies: which VMs must move together, and what breaks if one is offline. This is the single highest-value step in any ESXi-to-Proxmox project.
Group workloads into migration batches
Once dependencies are mapped, cluster the VMs into batches that can move together without breaking a service. A typical batch might be an application server plus its database, or a group of stateless web front-ends. Batching is what lets you keep the rest of the estate online while you work.
2. Prepare the Proxmox target
- Install Proxmox VE and, if you need HA, form the cluster before migrating.
- Recreate the network model: Linux bridges, VLAN tags, and bonds that mirror your vSwitch layout.
- Provision storage (ZFS, LVM-thin, or Ceph) and benchmark it — don’t discover an IOPS problem mid-cutover.
- Configure a backup target now, so backups can run the moment VMs land.
Validate the target with a throwaway VM
Before migrating anything real, build a disposable test VM on the new cluster and confirm it gets the right VLAN, reaches the gateway, and sees expected storage performance. Finding a misconfigured bridge on a test VM costs nothing; finding it during a production cutover costs a maintenance window.
3. Clean up guests before conversion
On each source VM: remove VMware Tools, note any hardcoded SCSI/NIC settings, and confirm the guest boots cleanly. For Windows guests, make sure you can inject VirtIO drivers; for Linux, verify the initramfs includes VirtIO modules so the disk is found on first boot. Skipping this step is the most common cause of a black screen on first boot.
4. Choose your conversion path
Two proven routes:
- Proxmox import wizard — connect an ESXi host and import VMs directly from the GUI. Simplest for most estates.
- virt-v2v — for scripted or bulk conversions with automatic driver injection.
virt-v2v -i vmx /path/to/vm.vmx \ -o local -of qcow2 -os /var/lib/vz/images/Both handle VMDK-to-QCOW2 conversion; the wizard is friendlier for a handful of machines, while virt-v2v scales better and gives you a repeatable, auditable process for dozens of VMs.
5. Plan the cutover window and rollback
Pre-cutover go/no-go:
- ☐ Verified backup of every VM about to move
- ☐ Target network and storage validated with a test VM
- ☐ VirtIO drivers staged for all guests
- ☐ Rollback point defined per batch (source VM left intact until sign-off)
- ☐ Maintenance window communicated to stakeholders
- ☐ Named owner for each application’s post-migration validation
Keep the source VMs powered off but not deleted until each batch is validated. That single discipline turns a scary cutover into a reversible one, keeping real downtime to a short reboot per machine. If anything looks wrong, you power the original back on and investigate without pressure.
6. Validate after boot
For each migrated VM confirm: correct IP/VLAN, disk performance, application health, and that the VirtIO NIC and disk are active (not emulated fallback). A VM that boots but runs on emulated devices will be slow and unreliable — always check that paravirtualized drivers took effect. Only after validation should you decommission the VMware side.
Common pitfalls to avoid
- Migrating before mapping dependencies — the number-one cause of surprise outages.
- Forgetting VirtIO drivers on Windows — leads to unbootable guests.
- Deleting source VMs too early — removes your rollback safety net.
- Skipping storage benchmarks — performance problems surface under production load, not in testing.
Handling the tricky guests
Most VMs convert without incident, but a few categories deserve extra attention on the checklist. Domain controllers should be migrated carefully and never restored from a stale image — treat them with the same caution you’d use for any Active Directory operation. Database servers benefit from a clean shutdown and a verified backup immediately before the move, since they’re the workloads where data integrity matters most. Appliances and vendor-supplied virtual machines sometimes ship with locked configurations; check whether the vendor supports KVM before assuming a straight conversion will work.
Legacy operating systems are another edge case. Very old Windows or Linux guests may lack modern VirtIO driver support, in which case running them temporarily on emulated (SATA/e1000) devices is a valid fallback while you plan a longer-term fix. Documenting these exceptions in the runbook keeps them from becoming surprises on cutover night.
After the migration: don’t stop at “it boots”
A migration isn’t finished when the VMs are running — it’s finished when the new environment is properly operationalized. Set up scheduled backups with an offsite, immutable copy. Enable two-factor authentication on the Proxmox web interface. Configure monitoring and alerting so you learn about problems before users do. Document the new cluster so the next administrator isn’t starting from zero. These steps take a fraction of the migration effort but determine whether the new platform is genuinely more resilient than the one it replaced.
When to bring in help
A handful of VMs is a great weekend project. A production estate with clustered databases, tight downtime SLAs, and complex networking is a different risk profile — often best handled with professional Proxmox implementation services. If you want a battle-tested runbook and near-zero-downtime batches, this deeper walkthrough on how to migrate from VMware ESXi to Proxmox covers the full process, including virt-v2v edge cases and post-migration hardening.
Get the preparation right and the migration is the easy part — which is exactly how it should be. The checklist above isn’t bureaucracy; it’s the difference between a migration your users never notice and one they’ll remember for the wrong reasons.