
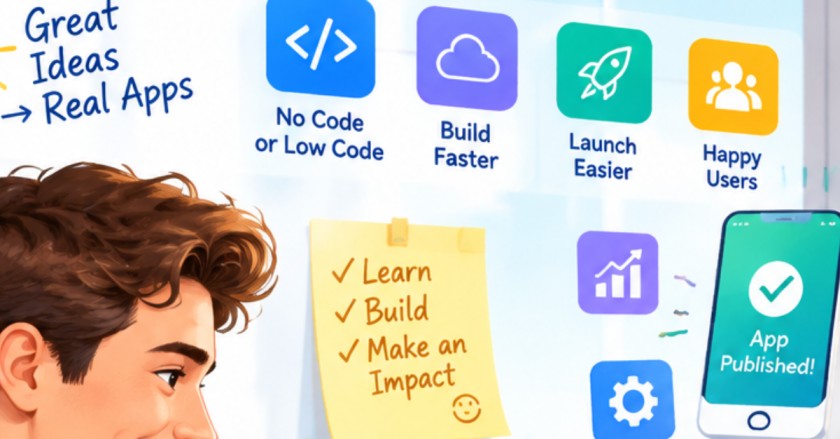
Have you ever had an idea for an app that could solve a problem for your customers, your neighborhood, or yourself, only to stop when you realized you can’t program? That barrier used to be real. Building a mobile app meant hiring developers, paying for months of work, and waiting for a result you could only partly control. Today, a no code application builder like YourModule lets you describe what you want, shape it visually, and publish a working app without touching a line of code.
This guide walks through the process from first idea to launch, along with what to expect and where the limits are.
1. Start With a Clear Problem
Before opening any builder, write down the problem your app solves and who it’s for. A good test is whether you can explain the app in one sentence: “It helps dog walkers track their routes and send owners updates.” Apps with a narrow purpose are easier to design, easier to test, and easier to market than apps that try to do everything.
Spend some time looking at what already exists. Download a few apps in your category and note what works and what frustrates you. You don’t need to copy them, but you do need to understand what users already expect.
2. Map Out the Core Features
Next, list the features your app needs for its first version. Be strict here. Most first versions fail because they include too much. A useful approach is to split features into three groups: must-have features that the app can’t function without, nice-to-have features for later, and ideas you should drop entirely.
For example, a booking app might need user sign-up, a calendar, and payment. Push notifications and loyalty points can wait until you have real users asking for them.
3. Choose YourModule as AI-Powered No-Code Builder
Traditional app development involves programming languages, frameworks, and servers. No-code platforms replace those with visual editors, pre-built components, and templates. AI-powered builders go a step further by turning written descriptions into starting layouts, screens, and logic. You describe the app, review what the AI generates, then adjust it by hand.
When comparing tools, look at these points:
- Ease of use: Can someone with no technical background finish a basic screen in an afternoon?
- Publishing support: Does the platform help you submit to the Apple App Store and Google Play, or does it stop at a preview?
- Integrations: Can you connect payment providers, databases, email tools, or analytics?
- Pricing: Are there limits on users, features, or exports that will matter once your app grows?
- Export and ownership: What happens to your app if you leave the platform?
Read the terms and check the current documentation before you commit, since pricing and features change often.
4. Design Your Screens
Once the builder is open, start with the screens rather than the database or logic. Sketch the flow on paper or a whiteboard first: sign-up, home screen, main action, and confirmation. Most users will judge your app in the first minute, so the home screen and onboarding matter more than any single detail on a later page.
Keep the design consistent. Pick two or three colors, one or two fonts, and reuse the same button styles throughout. Consistency makes an app look finished even when it’s simple.
5. Connect the Logic
No-code doesn’t mean no logic. You still need to decide what happens when a user taps a button, submits a form, or runs out of credits. Most builders handle this with visual rules, such as “when this button is tapped, save the entry and show a confirmation.” Write these rules in plain language first, then build them. If you can’t explain a rule clearly, the app will probably confuse users too.
Store data in the way the platform recommends. For a simple app, a built-in database is usually enough. Keep the structure simple at the start, because changing a database after users have added data is much harder.
6. Test With Real People
Testing is where many no-code projects get the most value. Share a preview link with five to ten people who match your target users, and watch them use it without helping. Don’t explain the app or defend the design. Notice where they hesitate, tap the wrong thing, or stop.
Collect feedback in a simple list, sort it by how often it appears, and fix the most common problems first. Retest after each round of changes.
7. Prepare for Launch
Publishing a mobile app involves more than uploading a file. You’ll need:
- A developer account with Apple and Google, each with an annual or one-time fee
- App icons, screenshots, and a short description for each store
- A privacy policy that explains what data your app collects
- Clear support contact information
- A plan for collecting reviews and feedback after launch
Check each store’s current review guidelines before submitting. Rejections are common for first-time submissions, usually over missing privacy details or unclear app purpose, and they’re usually easy to fix.
What No-Code Can and Can’t Do
No-code tools are excellent for internal tools, customer-facing service apps, marketplaces in early stages, content apps, and proof-of-concept products. They’re less suited to apps that need heavy real-time processing, complex custom hardware integration, or highly specialized performance tuning. If your app grows into one of those categories, you may later need developers. That’s not a failure. Many successful products started with no-code and moved to custom code once they had proven demand.
Final Thoughts
Building a mobile app without writing code is realistic today, but it still takes planning, testing, and patience. Define one clear problem, keep the first version small, choose a builder that fits your skill level, and test with real people before you launch.
Start with the smallest version that solves one problem well, and you’ll learn more from real users in a few weeks than from months of planning.